Successfully Added
The product is added to your quote.


The product is added to your quote.
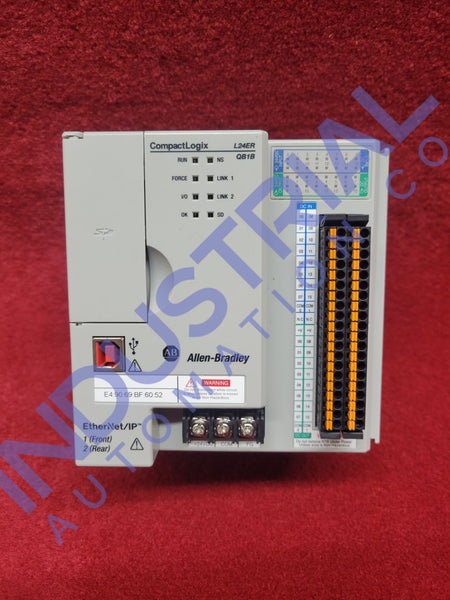
The CompactLogix 5370 Controllers are a robust and versatile solution for industrial automation. This guide will walk you through the process of installing these controllers, ensuring you adhere to safety precautions and use the necessary equipment.
Before you begin the installation process, it's crucial to familiarize yourself with the safety instructions provided in the CompactLogix 5370 Controllers manual. This includes understanding the potential hazards of electrostatic discharge and the importance of working in a static-safe environment. Always ensure that you're wearing an approved grounding wriststrap and avoid touching connectors or pins on component boards.
Carefully unpack the CompactLogix 5370 Controller from its packaging. Check the package contents to ensure that all components are present and in good condition. This should include the controller itself and any necessary cables or connectors.
Choose a suitable location for the controller. This should be a clean, dry, and well-ventilated area. The location should also be free from excessive vibration and within the temperature and humidity ranges specified in the controller's technical specifications.
Mount the controller onto a DIN rail or panel. Ensure that the controller is securely fastened and that there is sufficient space around the controller for adequate ventilation.
Depending on your system configuration, you may need to connect one or more I/O modules to the controller. Refer to the controller's manual for specific instructions on how to validate the I/O layout and connect the modules.
Connect the power supply to the controller, ensuring that the supply voltage matches the controller's specifications. Be sure to turn off the power supply before making the connection to avoid any potential electrical hazards.
The CompactLogix 5370 Controllers support communication over various networks. Follow the instructions in the controller's manual to set up network communication.
Once everything is connected, power up the controller and perform initial tests to ensure that everything is working correctly. This includes checking for fault indicators on the controller and verifying that it communicates correctly with connected devices.
Remember, always refer to the CompactLogix 5370 Controllers manual for detailed instructions and safety information. If you encounter any issues during the installation process, don't hesitate to seek professional assistance.
And there you have it! You've successfully installed your CompactLogix 5370 Controller. With proper installation, these controllers can provide reliable and efficient performance for your industrial automation needs.